Beginner's Guide to an Avenhost Minecraft Java Server
Managing a Minecraft server is more than fixing tech issues. It's about creating a place where families, friends, and fans can build and explore worlds together. As an admin, you choose the look and feel using mods, rules, and your own unique ideas.
Running a server with Avenhost allows players to work together, share items, and build communities in a high-performance environment where everyone feels welcome.
Step 1: Purchase a Minecraft Server
1. Select your Plan: Navigate to the Minecraft Java Server Plans on our billing portal.
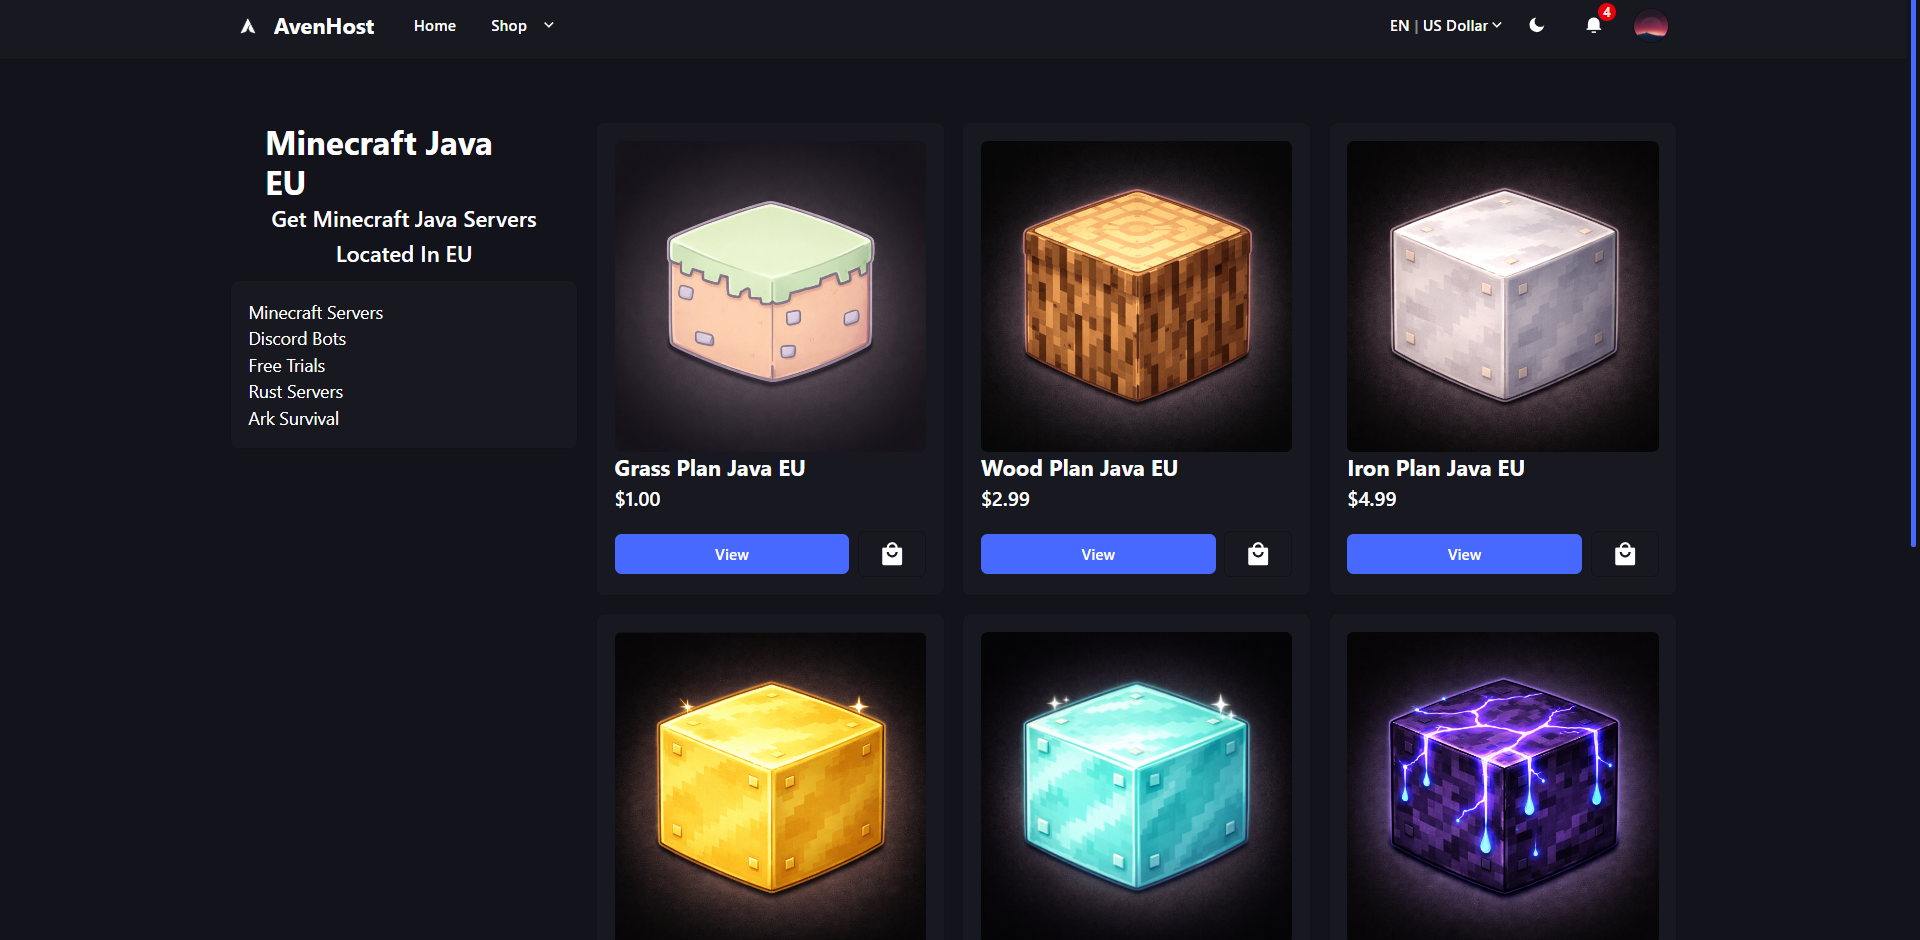
2. Custom Plans: If you need a specific configuration not listed on the site, Join our Discord to discuss custom requirements with our team.
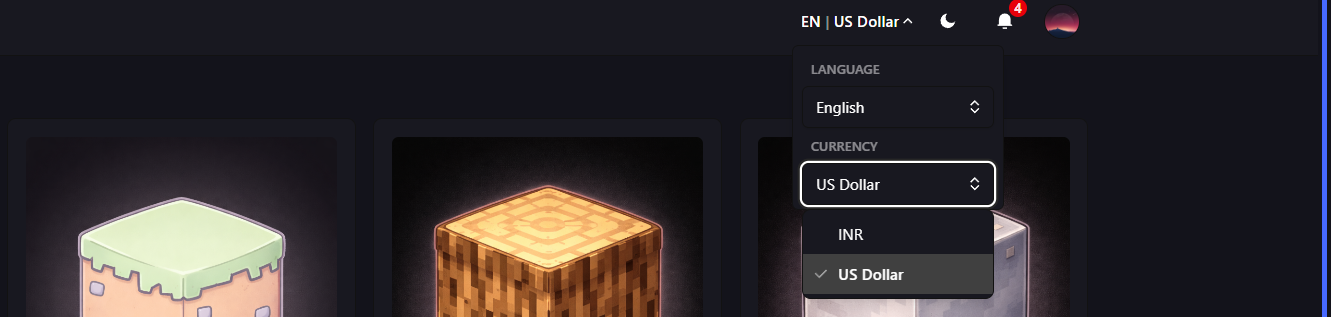
3. Change Currency: You can toggle your preferred currency on the sidebar to view pricing in your local region.
4. Promo Codes: If you have a discount code, enter it in the "Promo Code" box before proceeding to see your updated total.
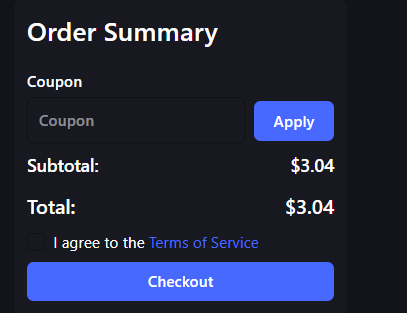
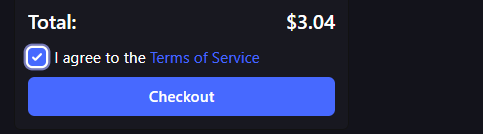
5. Checkout: Review your order and click Checkout to finalize your server deployment.
Step 2: Access the Control Panel
To learn how to log in and start managing your new server (uploading plugins, starting the console, etc.), check out our detailed guide here: